Table of Contents[Hide][Show]
Many people might be surprised to learn that making your own homemade cereal is well worth your time! The reason is that boxed breakfast cereals are some of the most toxic, unhealthy foods you can possibly buy!
What’s more – believe it or not – organic cereal brands and whole grain cereals are the absolute worst!
The reason is that the violent processing required to make boxed cereal (called extrusion) is so high in temperature and pressure that the proteins in the grains are completely denatured and rendered toxic from the ordeal. Organic boxed cereal is the worst of all because it is whole grain and therefore higher in protein. (source)
Ever wondered how all those shapes and flakes are made? The cereal grains are actually liquefied in order to create the slurry necessary to create the desired form. This destroys the integrity of the grains making them difficult to digest and toxic for the body too.
So don’t be fooled by boxed cereals that only have a few ingredients. The ingredients label tells you nothing about the dangerous processing that occurred to produce the cereal!
Toxic foods are frequently the most addictive (think MSG and aspartame/nutrasweet), so even though it is difficult, you simply must eliminate these foods from your pantry for good! Cold breakfast cereals are some of the most addicting processed foods on the market in fact.
I just cringe when I see parents giving their toddlers Cheerios and other boxed cereals as finger foods. If these parents only knew how toxic these foods are, perhaps they would think twice about handing it out so freely to their children.
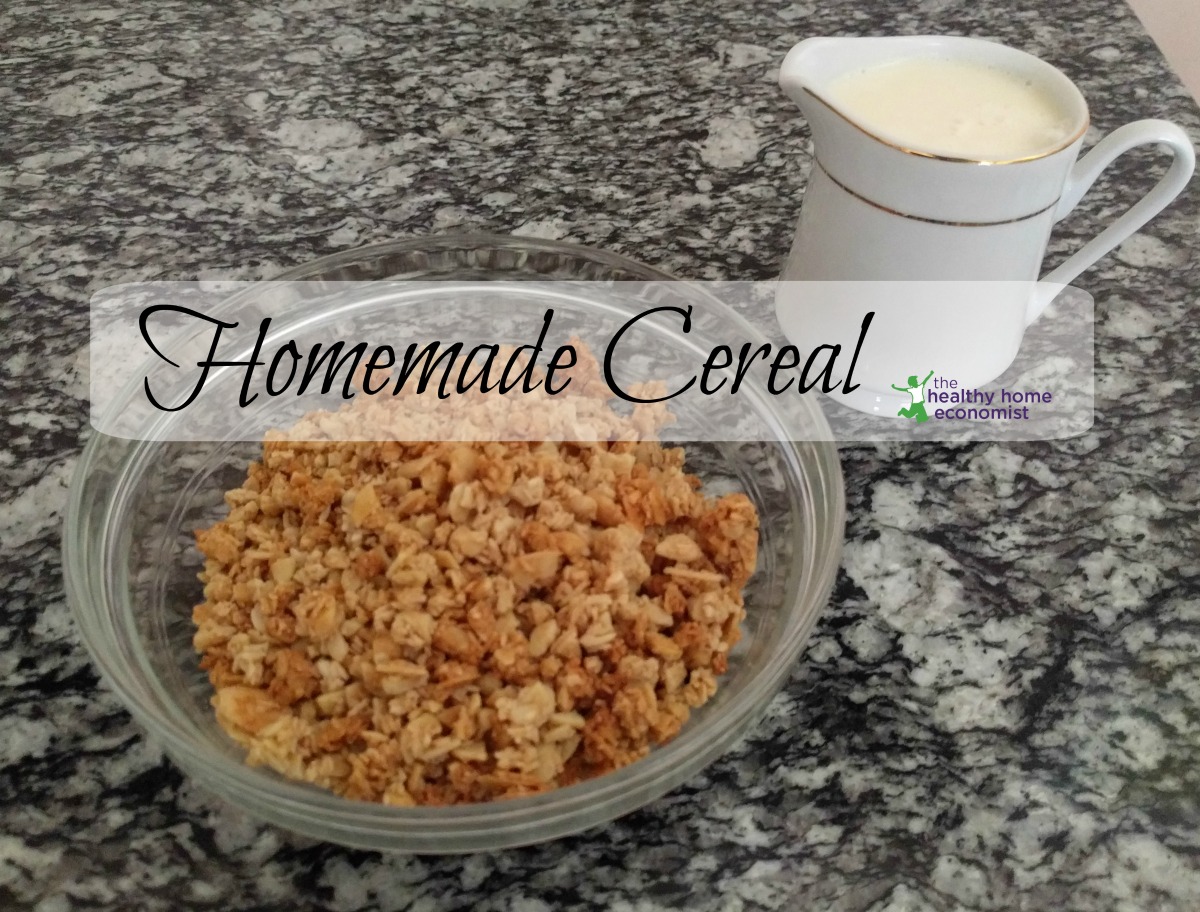
The good news is that you can make a very delicious, healthy alternative yourself at home!
How to Make Breakfast Cereal (How-to Videos)
The first video below demonstrates how to make and bake the breakfast cereal batter. The second video shows you how to crumble it into bite size pieces and gently dehydrate for the satisfying crunch in a bowl with milk!
The written recipe follows 🙂
If you would like to know how to make this cereal Paleo, here is a homemade grain free cereal recipe to try instead.

Homemade Breakfast Cereal Recipe
Recipe for how to make cold breakfast cereal so that you can avoid the toxic, overly processed boxed versions at the store. Organic cereal isn’t any better!
Ingredients
- 6 cups flour preferably freshly ground for optimal nutrition
- 3 cups whole yogurt plain
- 3/4 cup coconut oil
- 1 cup maple syrup dark, preferably organic
- 2 tsp baking soda
- 1 tsp vanilla extract
- 1 tsp sea salt
Instructions
-
Mix fresh flour and soaking medium of choice in a large, glass bowl. Cover with a clean cloth and rubber band and leave on the counter for 24 hours.
-
Mix all the remaining ingredients including fresh cinnamon into the batter after soaking is complete.
-
Pour into 2 – 9×13 pans and bake at 350 F/ 177 C for about 30 minutes until a toothpick inserted in the center comes out clean.
Do not overbake!
-
Let cool and crumble the coffee cake into small pieces (see second video above for ideal size) and dehydrate on cookie sheets at 200 F/ 93 C for about 12-18 hours. Turn cereal pieces every few hours to dry evenly.
-
Store in airtight containers in the refrigerator.
-
Serve alone as a finger food snack or in a bowl with either dairy or nondairy milk.
Recipe Notes
Substitute whole milk kefir, buttermilk, or clabbered milk for yogurt if desired.
For dairy free cereal, use 3 cups water plus 2 tablespoons lemon juice or store bought or homemade apple cider vinegar.
Substitute date syrup for the maple syrup if you wish to sweeten only with fruit. Do not substitute honey as cooking honey is not healthy.
More healthy breakfast cereal ideas


You can do this a couple of ways. First, the almonds can be soaked and dried before grinding into the almond flour. Then, you would not need to soak with the clabbered milk like I show in the video. If you almonds were not soaked before grinding into flour, then you would need to soak the almond flour with the clabbered milk as shown in the video.
If using almond flour, would you still need to soak it?
Hi Linda, regular store milk will never work like I show in the video. Regular milk is dead and will not clabber. Do NOT do this with pasteurized milk!!!
If you don't want to use clabbered raw milk, use plain yogurt from the store or water plus 2 TBL lemon juice or apple cider vinegar.
Yes, this recipe would work great with almond flour! I haven't tried it myself to see if the ingredient amounts require adjustment, but if you want to give it a go as is, it should work fine.
Sarah, have you tried it with coconut flour? (See my mishap above) We have nut allergies here. Do you think coconut flour needs soaking?
I did not coat the pans with anything. There is so much coconut oil in the recipe that the cake stays very moist.
The second part of the video will be posted tomorrow.
Whether you use sprouted flour or soaked flour is a personal preference. I prefer soaked flour for making cold cereal as in this recipe.
Cool idea! And btw, if people want nice finger foods for baby, they can check out the Just Tomatoes company. Freeze-dried, organic fruits and veggies. 🙂
So, is sprouted flour just for making bread? How do you know whether to use soaked or sprouted flour when you are adapting a recipe?
We have Celiac and try not to use too many grains. Do you think this would work with coconut flour or almond flour?
I tried it with half coconut flour and half brown rice flour… and had to change the whole recipe, as coconut flour absorbs a ton of liquid… we had to keep adding and adding… we started with clabbered milk, the right amount… but then added yogurt and some water until you could finally stir the stuff. So, being very unscientific, we just added more of all the other ingredients, to make up for it. It seemed like a big disaster when we baked it– it smelled great, but it was mushy inside and a little burnt on parts of the outside… I crumbled anyway, and dried it out, and it took ages… I think I should have crumbled it smaller as it was hard on the teeth, but surprise! It was GOOD, when it finally dried out. I like the lower carb and nutritious aspect of coconut flour, but I wonder, does it even NEED to be soaked, as it’s not technically a flour? Does soaking help it, or could one just mix it up and bake it without soaking? Anyway, some trial and error and collaboration might yield a nice, predictable result for coconut flour based dry cereal.
Did you coat your pans with anything to prevent sticking? And tomorrow, will we get to see the rest of the video? I hope!! This was quite interesting to watch! Thanks!