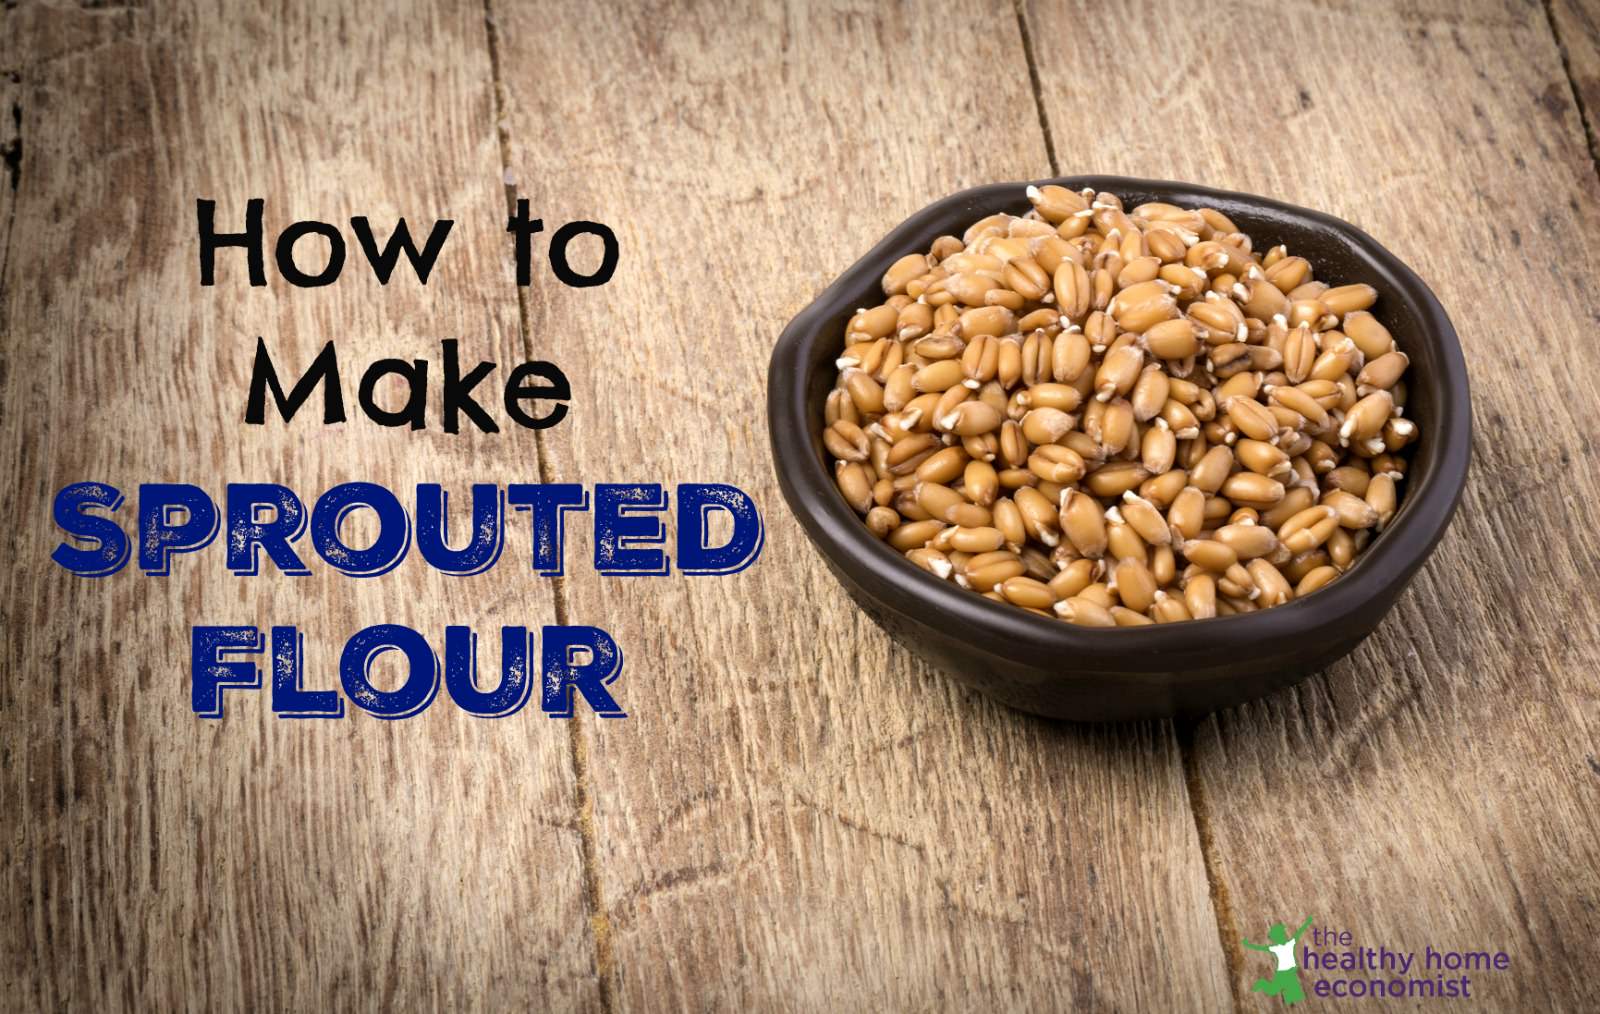
How to make sprouted flour yourself at home by sprouting the grain of your choice for more nutritious, filling, and digestible baked goods. It saves a bundle too!

Sprouted flour made from freshly ground, germinated grain is one of the 3 ways traditional societies used to prepare their grains before eating.
These careful methods are necessary in order to eliminate anti-nutrients such as phytic acid and lectins. They also help neutralize toxins and break down difficult to digest proteins such as gluten. In addition, the process optimizes digestibility to allow maximum absorption of nutrients.
Unfortunately, sprouting as a traditionally inspired practice has been lost in favor of modern cooking techniques. Today, home chefs value speed and convenience over nutrient density and digestibility!
Many consumers are returning to these wise and ancestral preparation methods, especially as allergies and intolerances to grains continue to explode across the industrialized world.
It is amazing to me how many folks label themselves as “gluten intolerant”. If they only realized how simple cooking techniques will easily break down the gluten and possibly allow them to enjoy wheat again!
Benefits of Sprouted Flour
Sprouted flour is substantially more nutritious than unsprouted. For example, vitamin C is produced by germinating grain, but it is absent in the unsprouted form. Vitamin B content is increased dramatically by sprouting as are carotenes, precursors to Vitamin A.
Sprouting inactivates the irritating substances in the hull of the grain as well. These inhibitors (phytic acid) have the potential to neutralize enzymes in the digestive tract. These substances also block the uptake of important minerals like zinc.
Hence, the germination process exponentially increases the ease of digestion and metabolism of nutrients! It reduces the chances of indigestion, acid reflux, and bloating too.
From a practical point of view, you feel full more quickly and stay satisfied longer when sprouted foods are consumed. The increased nutrition in each bite is what makes this possible.
Germination Inactivates Aflatoxins
Much media attention has brought attention to the problem of aflatoxins in grains. These substances are potent carcinogens and are present in high quantities in highly processed foods such as crackers, cookies, chips, and cereals.
Sprouting inactivates aflatoxins, which is just another reason to follow the wisdom of traditional peoples in grain preparation!
Less Expensive
While there are many places nowadays to buy sprouted flour, it can be expensive, typically running $5-10/pound depending on the type of grain you seek.
Another option is to buy grain kernels already sprouted and grind into fresh flour yourself. This costs about the same as buying sprouted flour.
On the other hand, buying the grain of your choice in bulk, sprouting the kernels yourself, and then grinding into flour costs roughly half this amount!
More Nutritious
Not only is it cheaper, but homemade sprouted flour is more nutritious too.
Once grain is sprouted and/or ground into flour, the protective substances in the hull are deactivated. This results in a rapid loss of nutritional value…even faster than unsprouted flour. There is also an increased risk of rancidity once the delicate polyunsaturated fats in the grain are exposed to air and light post grinding.
Thus, making germinated flour yourself will result in a fresher product with most of the nutrition preserved. It is time well spent.
Equipment for Sprouting Grain Kernels to Make Flour
The first item you need to sprout grain is a glass container with a screen lid and a stand for easy drainage/airflow (like this one).
Alternatively, many health food stores sell sprouting jars, but they are sometimes pricey.
If the budget is tight, you can make a DIY sprouting jar yourself using a large, wide-mouth mason jar and a clean pair of pantyhose cut to fit about an inch or two wider than the lid. Fasten with a rubber band and you’re all set!
Note that buying organic grain is best as nonorganic sources are sometimes irradiated and will fail to sprout.
While it doesn’t take much effort, germinating grain does take a bit of time to allow Mother Nature to do her work. Thus, it is wise to plan for large batches at a time so that you only have to sprout your grains once or twice a season!
Recipes Using Sprouted Flour
Once you’ve successfully made your first batch of sprouted flour, try one or more of these recipes to enjoy the delicious fruits of your labor!
- Sprouted Brownies
- Belgian Sprouted Waffles
- Peanut Butter Cookies
- Traditional Sprouted Stuffing
- Sprouted Flour Pizza Crust
- Sprouted Crackers

Homemade Sprouted Flour
How to make sprouted flour at home by sprouting the grain of your choice for baked goods that are more digestible, filling, and nutritious.
Ingredients
- 2 cups whole grain kernels preferably organic
- filtered water
- sprouting jar
Instructions
-
Fill sprouting jar no more than half full of grain. Rinse the kernels several times with filtered water until they are completely wet.
-
Fill the jar until almost full with water and let the berries soak overnight. The next morning, tip the jar and drain out the water using the screen lid to prevent the berries from spilling out. Rinse the wheat one more time and then invert the jar and let it sit at an angle to facilitate draining and allowing the circulation of air. I use my grain grinder as a support for the jar so that the draining occurs right over the kitchen sink.
-
Every few hours, rinse the kernels again and reset the jar in the draining position. Anywhere from a few hours to a couple of days (depending on the time of year and warmth/humidity in your home), small white buds will appear on the ends of each grain kernel. Immediately proceed to the next step, as letting the sprouts grow too large reduces the amount of flour you will produce after grinding.

-
Pour the sprouted kernels into baking pans and place in a dehydrator or a warm oven (150 F/ 65 C) for about 24 hours until fully dried. Keep a shallow depth for the kernels in the pans to ensure quick drying. Take care not to go over 150 F/ 65 C, else you will toast the flour.
-
After the sprouted grains are dry, store them in an airtight container in the refrigerator, or grind immediately and then freeze the sprouted flour.
-
Use sprouted flour just like you would use regular flour in your favorite baking recipes, substituting 1:1.


I just want to say that I have had some great success with the sprouting. I have sprouted white wheat, dried it, and baked with it this week. It is VERY light. It made yummy scones and pancakes. Also I sprouted red winter wheat, ground it in my food processer and made some delicious loaves of hardy chewy yeasted bread. It rose wonderfully. I just wish I had a better way to grind the wet grain as I think I would get a lighter loaf. I am really enjoying the change. I have baked whole wheat bread for 15 years, but I know that my stomach is not always happy about the wheat. Hopefully this will be something my body handles better. Just wanted to share and say thanks for all your work and the blog. I really enjoy it and it is so helpful.
Holly
Why is your grain wet? You’re supposed to dry it first, immediately after it’s all sproited.
I think you missed a step, lol!
Thanks for the info! Very helpful! My first experience with sprouting was unsuccessful, as I used hard wheat and sprouted too long. So, it's good to know that I need to use soft wheat and I look forward to not have to soak quick breads.
Thanks again!
Hi Holly, I do not use sprouted flour for bread. It works best for baked goods that don't require much of a rise, like pancakes, waffles, or pizza crust. Yeast is fine to use with sprouted flour if you want on perfecting that process, but it is better to ferment the dough (sourdough) for bread if you are using unsprouted flour. No yeast is required to bake a sourdough loaf.
Hi Sarah!
Do you know why yeast is fine to use with sprouted flour, but not with unsprouted flour? I’ve read that yeasted breads are not good, but do not really know why that is. Do you have any info. on this? Thanks so much!
Bess
Hi Sara,
I am wondering if you can share how you would make bread with sprouted flour. I could use this flour with baked goods that do not require a rise. But without gluten in the grain how do you make a loaf of sandwich bread rise? Yeast or no yeast? I did a search but didn't see this on the blog.Thanks!
Holly
I was wondering if anyone has sprouted any gluten free grains like millet or buckwheat?
I didn't find a company that carries these.
Thanks
Karen
Hi,
I always sprout my gluten free grains.I sprout amranth,quinoa,buckwheat etc.They sprout very well but do take little bit more time then spelt or wheat.I always sprout lentils too.They also sprout very well.Mung beans sprouts are gluten free and considered very healthy.Let me know if any concerns.
Sarah, you explained this simple process so well. I've hesitated sprouting my own bc I thought it was a really big time consuming job. Not so. Thanks.
Hi Eva, I would wait a bit until all of the spelt berries are sprouted. It shouldn't take but a few hours more.
Hi Sarah,
Thank you for the interesting information. I wanted to ask you whether you stop the sprouting process even though not all of the grains have actually sprouted. I'm just sprouting spelt and some of the grains have the barely visible white sprout and some don't. Those that don't are soft and chewable, and I'm not sure whether to leave it a bit longer to wait and risk that those sprouting already will sprout too much…
Hi Sarah,
I applaud you for your efforts and have just read your sprouted flour post. It reminded me of the time and effort it used to take me to make sprouted flour. Last year I found a company selling certified organic sprouted flour and I gave them a call. Surprisingly they were doing some things that I couldn't do as a home sprouter. First, they test every batch to assure the grain has sprouted versus drown. They sift the sprouted flour to remove any foreign matter and they have more sophisticated milling equipment that makes flour with much better baking characteristics. All things I could not do a home. But the most enlightening thing was that they have an organic rinsing system that removes the "unwanted" bacteria from the sprouted grain, something I also could not do a home. So the bottom line is that I am now happy to buy their delicious, safe, sanitary, organic sprouted flour at my health food store and I'm sharing it with you and those who don't have the time to make sprouted flour at home. It is the only flour I use as it digests as a vegetable. Shiloh Farms is the label, but for more info on the company producing it see essentialeating.com. This sprouted flour has so improved my health and my kids love it. I'm happy to spread the word!
Hi Sarah,
I read you post about making sprouted flour and it reminded me of how much time and effort it used to take me to make sprouted flour. Last year I found a company that sells certified organic sprouted flours and gave them a call. They do some things that a home sprouter cannot. First they test each batch to assure the grain has been sprouted as sometimes grain looks sprouted but is in fact drown. They have an organic rinsing system to remove the unwanted bacteria and they sift the finished flour to remove foreign matter. More steps that are not done by home sprouters. Their milling system is also more sophisticated, which enables their flour to have great baking characteristics. Bottom line is that after talking with these folks I'm happy to buy their safe, sanitary flour and it's so easy to pick up a bag at my health food store. Shiloh Farms is the brand, but the company that makes the flour has a lot of info on their site at essentialeating.com. Just thought those who don't have the time to sprout and mill their own might be interested.