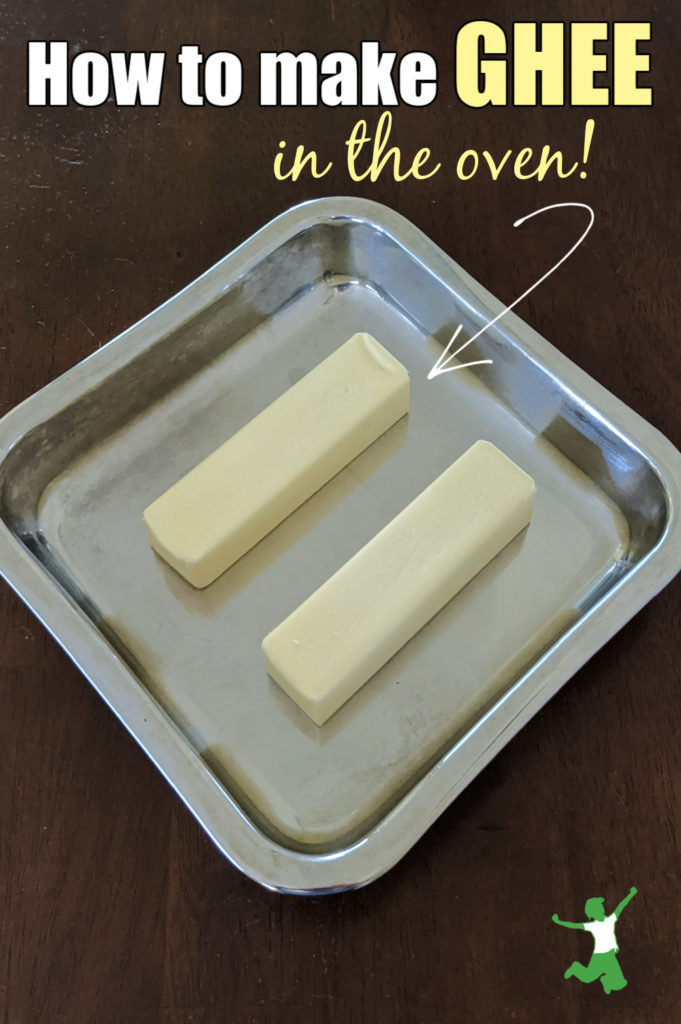
How to make homemade ghee in the oven for a simple, healthy, and budget-friendly option to expensive commercial brands.
Ghee or clarified butter is easily made from regular butter by heating it to remove all the water and milk solids. While I prefer to clarify butter into ghee on the stovetop, others may like the convenience of making it in the oven which requires less babysitting.
More people than ever are using ghee!
This is because even those with severe autoimmunity issues or dairy allergies still tolerate it quite well.
With all the potentially offending proteins removed from the butterfat, the result is a deep yellow, pure oil loaded with healthy fats that stay soft or semi-liquid in the pantry.
By the way, if you want to learn more about how to use ghee in the kitchen, this free eBook has some great ideas!
Clarifying Butter in the Oven
Butter contains 13 to 17% water, which must evaporate before the fat temperature can rise enough to brown the milk proteins and separate them from the butterfat.
The catch is that butter begins to burn at 250 °F/ 121 °C.
Hence, you must be very careful to keep the oven temperature at a level that will accomplish both objectives…evaporate the water and brown the milk proteins with no burning!
In my experience, 212 °F/100 °C – 250 °F/ 121 °C is the optimal range for clarifying butter into ghee in the oven.
Thus, to ensure that you don’t wreck a batch (good butter is expensive!), be sure to check with an oven thermometer that you are able to maintain the temperature below 250 °F/ 121 °C at all times.
How Much Do You Save Making Ghee Yourself?
In my experience, you will save roughly half the price of a jar of ghee if you make it yourself.
For example, a pack of four sticks (1 pound) of organic grassfed butter runs about $8-9 where I live as of this writing.
This amount of butter makes just shy of two cups of homemade ghee. The equivalent amount of commercially made organic ghee costs about $16-20.
Thus, making ghee yourself saves about 50%.
Don’t Use Raw Butter for Ghee
Hint: You definitely don’t want to use your precious raw pastured butter to make ghee …. heating it will destroy its probiotic and enzymatic value.
Stick with less expensive pasteurized butter for ghee-making!
The reason this is acceptable is because the fats in butter are extremely resistant to damage from heat.
In other words, pasteurization doesn’t damage butterfat like it does the delicate whey proteins. Nor is there any significant loss of the fat-soluble vitamins A and D.
How to Make Ghee in the Oven
Simple method for making ghee in the oven for a simple, healthy, and budget-friendly option to expensive commercial brands.
Ingredients
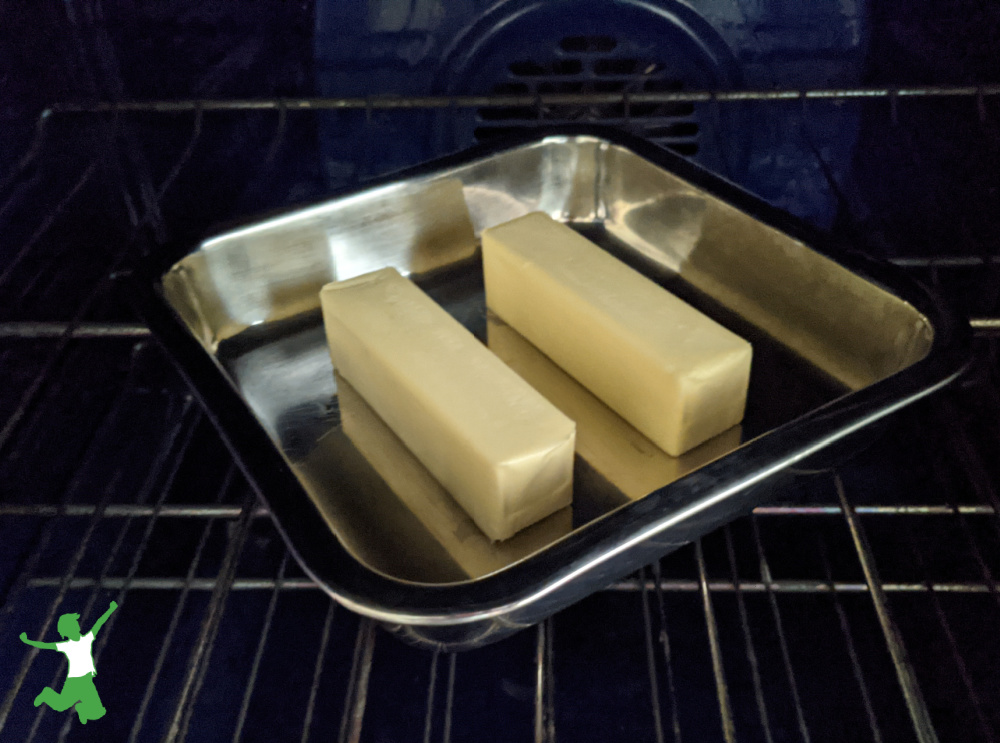
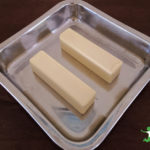
- 2 sticks unsalted butter preferably grassfed
Instructions
-
Preheat the oven to 230 ºF/ 110 ºC
-
Place sticks of butter in an uncovered baking pan. This is the one I use in the picture above.
-
Warm the pan with the butter in the oven for one hour.
-
Remove pan from oven and skim off the foam on the top.
-
Cool the pan to room temperature on the counter.
-
Place pan in the refrigerator until chilled (about 3+ hours).
-
Remove pan from refrigerator and carefully remove the solidified ghee on top. A small amount of browned milk solids will remain underneath the ghee. This can be discarded.
-
Rinse the solidified ghee chunks you remove from the pan in filtered water and pat dry with a clean, cotton dishtowel.
-
Cut into oven-made ghee into chunks and store in the refrigerator in a glass container with a tight-fitting lid. If you live in a cooler climate, you can store the ghee in a jar in the pantry.
-
Ghee will last for many months!


Any reason not to use a glass baking dish? Your added links are so helpful, but I haven’t yet attempted to use Azure because as retirees our needs are small. Might have to try soon – some things aren’t easily found elsewhere.
Glass is fine.
Just tried this and was wondering if you hurt the ghee if you then remelted it to pour in a jar? Thanks!
The ghee should be fine as long as you gently warm it just to melt.
I think we should all become vegan because we all have been poisoned by the wheat in this country. We have been abused by the FDA letting us eat wheat that was harvested with Round Up weed killer. Cows eat wheat and the dairy with lactose is poisoned too.
Don’t miss the important point that there is healthy dairy from pastured cows! Not all cows are abused, confined and miserable. If you’ve ever been to a grassfed farm, the cows are happy and contented and literally RUN to the milking barn when the bell rings because they get tasty treats like kelp and molasses.
Why do you rinse the ghee chunks and pat dry before storing?
Because there may be some of the browned milk solids on the underneath layer. You will see when you try the recipe.